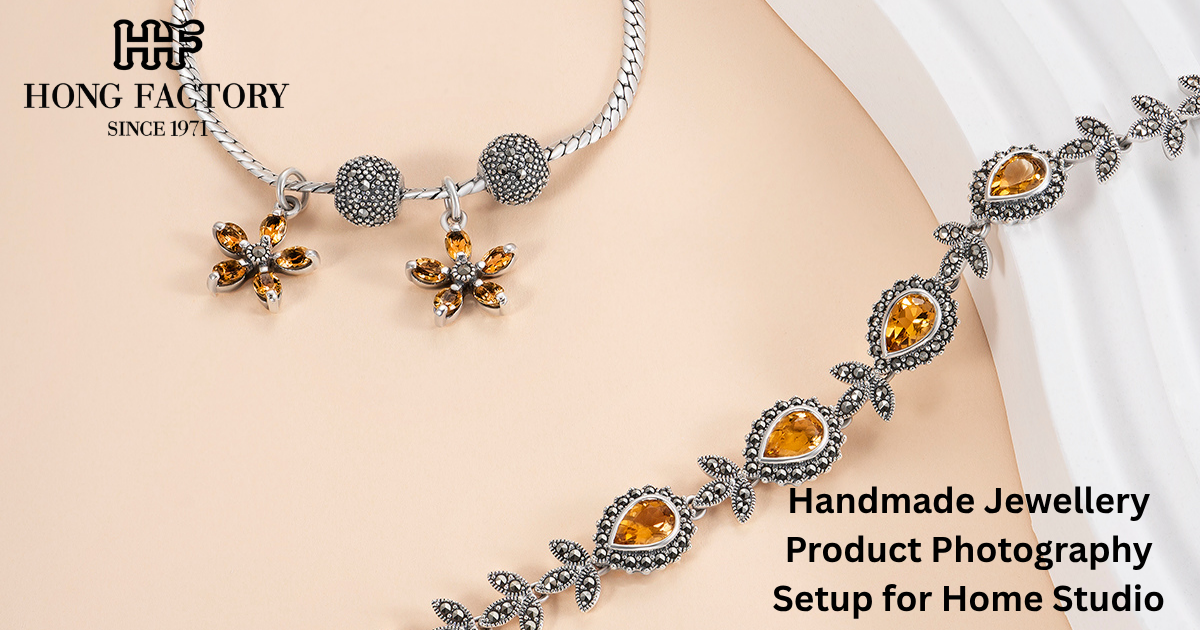
Introduction to Home Studio Photography for Handmade Jewellery
Creating a home studio for handmade jewellery photography is one of the best ways to improve your product images without spending a lot of money. High-quality photos help attract customers, build trust, and increase sales.
For beginners, a simple home setup can produce professional-looking results. With the right lighting, background, and positioning, you can showcase your jewellery in the best possible way.
Why a Home Studio Matters for Jewellery Photography
A controlled environment helps you take consistent and high-quality photos.
Benefits include:
- Consistent lighting and style
- Better product presentation
- Cost savings compared to hiring professionals
- Faster content creation
A home studio gives you full control over your images.
Choosing the Right Space for Your Home Studio
You do not need a large space to create a photography setup.
Tips include:
- Use a table near a window for natural light
- Keep the area clean and uncluttered
- Ensure enough space for your equipment
A simple setup can work effectively.
Lighting Setup for Handmade Jewellery Photography
Lighting is the most important part of your setup.
Options include:
- Natural light from a window
- Softbox lighting for consistent results
- Ring lights for close-up shots
Soft and even lighting reduces shadows and highlights details.
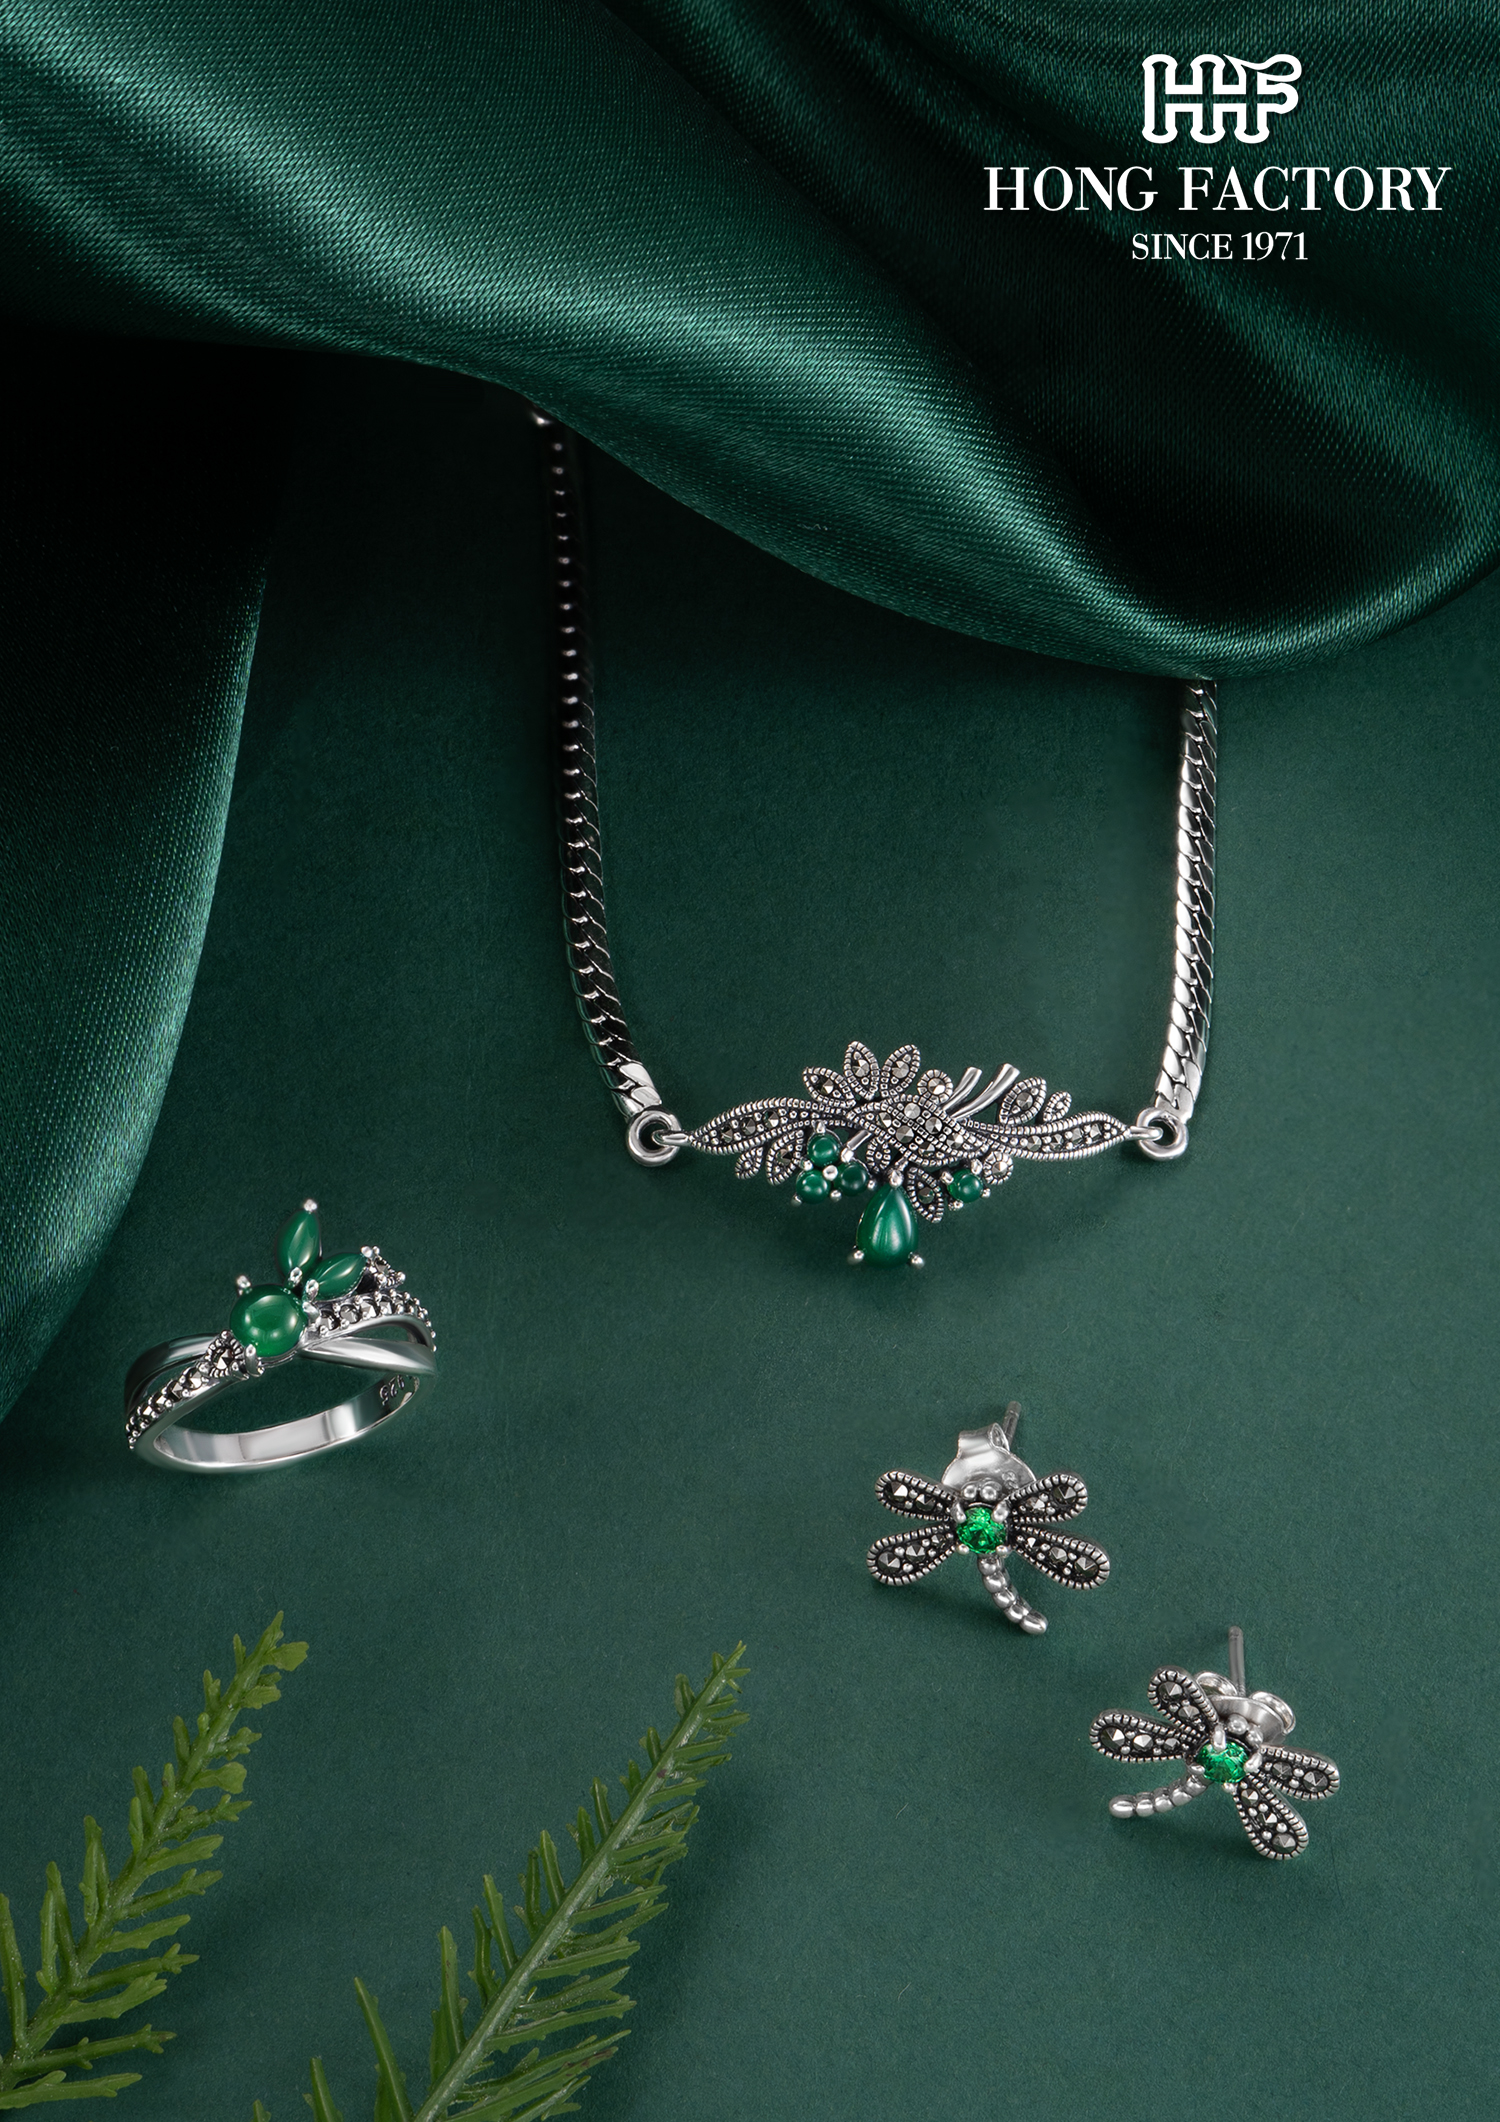
Background Selection for Jewellery Photos
The background should enhance your jewellery without distracting.
Popular options include:
- White or neutral backgrounds for a clean look
- Textured surfaces for a natural feel
- Fabric backgrounds for softness
Choose backgrounds that match your brand style.
Camera and Equipment for Home Studio
You can use either a smartphone or a camera.
Basic equipment includes:
- Smartphone with good camera quality
- Tripod for stability
- Reflectors to control light
Simple tools can create professional results.
Handmade Jewellery Composition and Styling Setup
How you arrange your jewellery affects the final image.
Tips include:
- Keep the focus on the product
- Use minimal props
- Create balance in your layout
Clean composition improves visual appeal.
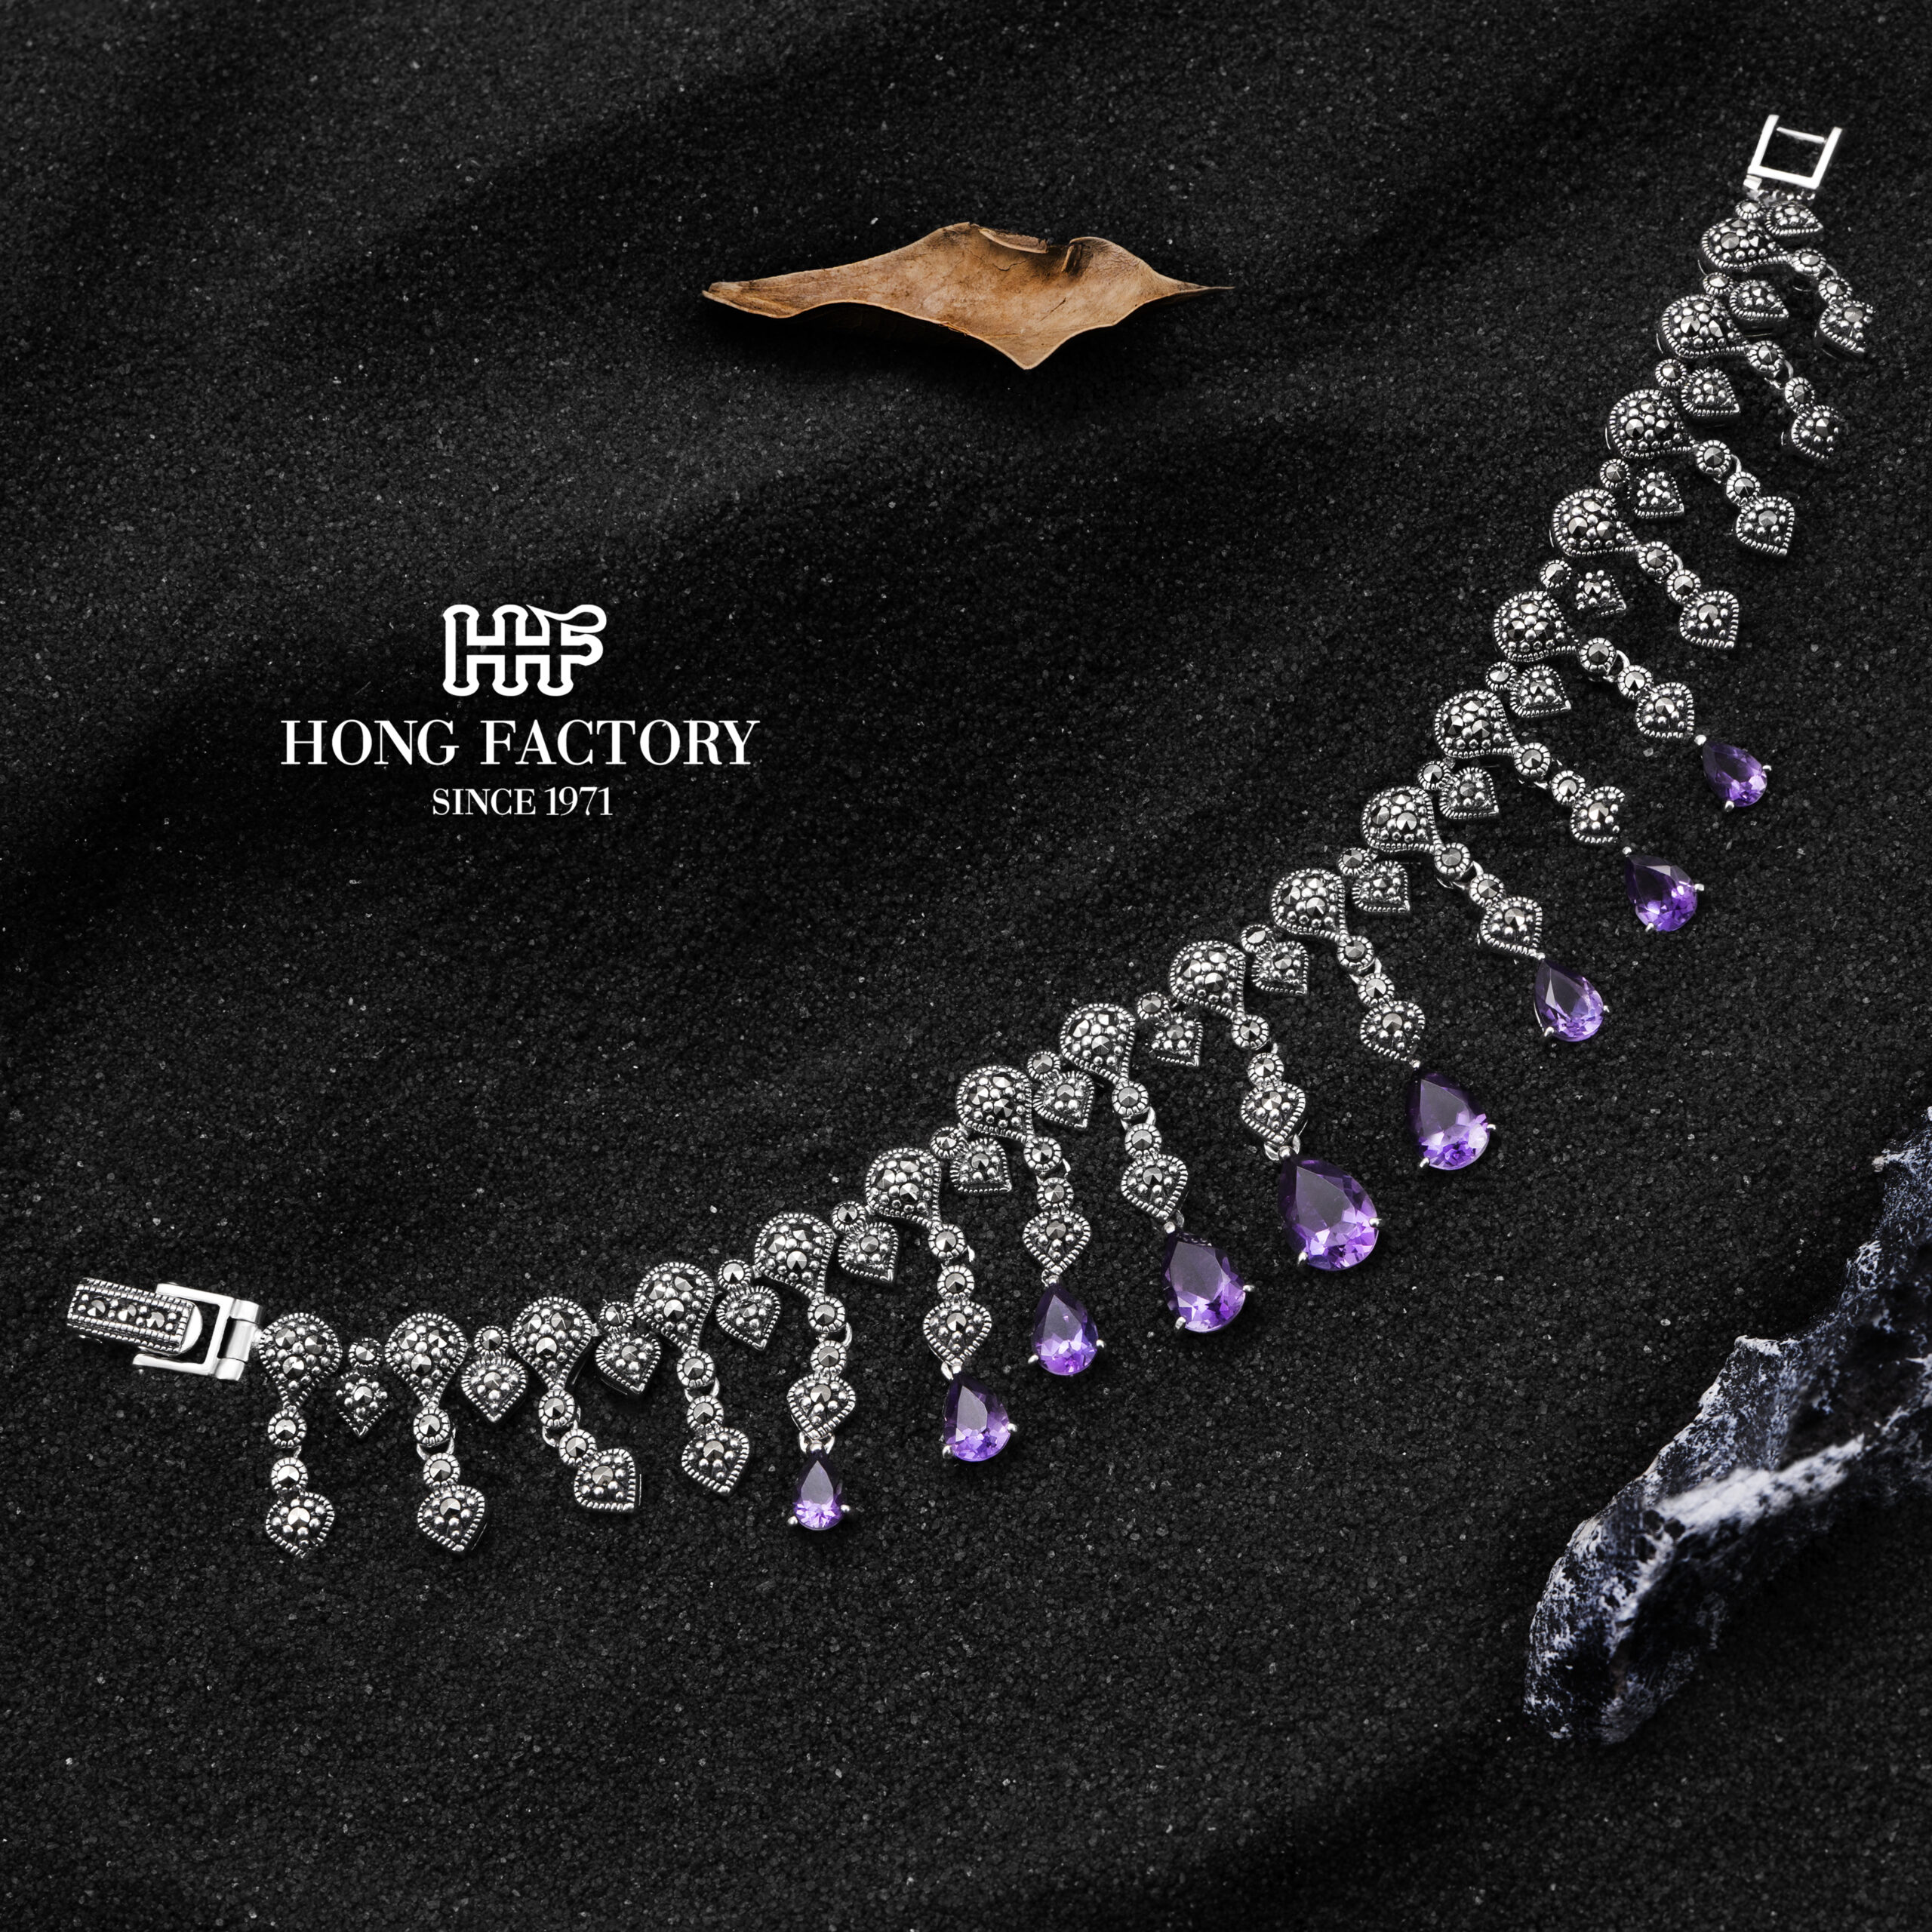
Using Props in Jewellery Photography
Props can enhance your photos if used carefully.
Examples include:
- Small decorative items
- Natural elements like flowers or stones
- Fabric for texture
Props should support, not overpower, the jewellery.
Handmade Jewellery Close-Up and Detail Shots
Close-up images show craftsmanship and quality.
Tips include:
- Use macro mode if available
- Focus on fine details
- Keep images sharp and clear
Detail shots build customer trust.
Editing Photos for Professional Results
Editing improves your final images.
Basic edits include:
- Adjust brightness and contrast
- Correct colors
- Remove background distractions
Simple editing enhances quality.
Maintaining Consistency in Product Photography
Consistency is important for branding.
Tips include:
- Use the same lighting setup
- Keep backgrounds consistent
- Maintain a similar style across photos
Consistent images create a professional look.
Common Home Studio Mistakes to Avoid

Avoid these mistakes:
- Poor lighting setup
- Cluttered backgrounds
- Inconsistent image style
Fixing these issues improves your results.
Conclusion
A handmade jewellery product photography setup for a home studio is an essential investment for your business. With simple tools and techniques, you can create high-quality images that attract customers and increase sales.
The key is to focus on lighting, composition, and consistency. With practice, your home studio can produce professional results that support your brand growth.